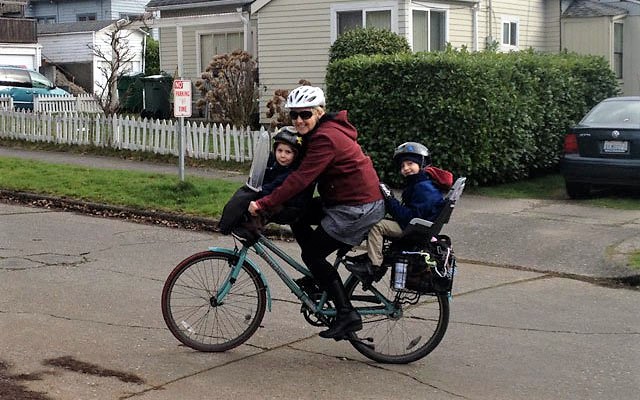
(Photos: Madi Carlson)
‘Tis the season for giving and receiving new bikes. With that in mind, I want to share a few tips on how to comfortably settle into a new rig.
Some new bikes — especially family bikes, be they regular bikes with attached kid seats or cargo bikes — look big and intimidating compared to your old beloved beater bike you’ve become one with over the decades.
I’ve always felt that when it comes to changing to an entirely new type of bike it takes two weeks to get comfortable and two months to feel like a pro. There are a couple things you can do early on to make things less scary: lower the saddle and practice with ballast.
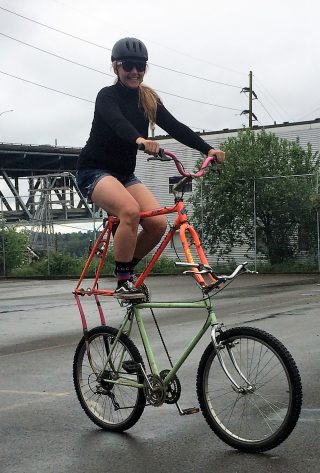
➤ Lower the saddle
I appreciate that there are people who refuse to compromise on seat height. Not having had a serious cycling background before getting into it with the kids, I’ve always been more concerned about feeling safe than about knee comfort when getting used to new bikes. My cargo bike was a lot heavier with very different weight distribution than my previous bike so I figured until my aging knees started protesting, I’d leave my saddle low.
As it turned out, my knees never complained and I left my saddle two inches lower than it needed to be for two and a half years. I didn’t put it so low that I could put my feet flat on the ground while on the saddle, but low enough that I could easily put the balls of my feet down and not have to slide forward off my saddle each time I stopped. I’m not recommending you leave it low that long, but you’ll be just fine if you do!
My knees probably felt OK because I tended to slide my foot forward on the pedal and push with the middle of my foot. The most efficient way to pedal is to push with the ball of the foot, but sliding one’s foot forward compensates for the lower seat height. In my case on my old green bike it also helped avoid heel strike with my rear passenger’s feet.
Advertisement
➤ Proper saddle height
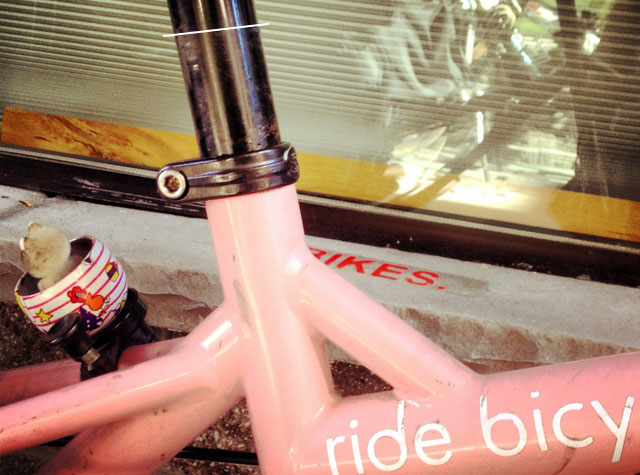
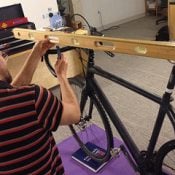
You can imagine how much I like having my saddle at the proper height these days after five years of a too-low seat. So when you’re ready, here’s how to find the right height on your own. My saddles all have a 5 millimeter bolt holding the seat collar at the base of the seat post, but some use quick release levers or a different size bolt. I start my height estimating by standing next to my bike and putting the saddle at hip height. If you have someone to hold your bike upright while you sit on it, pedal backwards while stationary to see if it feels right. Otherwise, pedal back and forth on the street or in your hallway. You may have to make several adjustments to get to the proper height. You may also realize belatedly you want your saddle higher or lower so keep a multi-tool handy while you’re getting used to the new height.
When your foot is at the bottom of the pedal stroke your knee should be slightly bent. If your knee locks and/or you need to slide a bit off the side of your saddle, it’s too high. If your knee is very bent, it’s too low. A second way to test your saddle height is to slide your foot forward so your heel is on your pedal and check that in this position your knee locks straight at the bottom of your pedal stroke.
Note: you may want to gradually get to the proper saddle height over the course of a few days. You don’t have to gain the entire two or so inches all at once.
➤ Ballast before kids
Mounting and dismounting a laden bike will be different than an empty test ride.
While I was still a newbie at biking with babies, I helped other parents get comfortable carrying them. I had moms and dads practice with leggy stuffed animals and bags of rice. Turns out bikes are pretty much the same (and it’s no surprise a lot of people I met in baby-wearing groups also became family bikers). Getting a feel for kid weight on a bike is very useful before putting the actual kids on board. Mounting and dismounting a laden bike will be different than an empty test ride, as will turning and stopping quickly. Fun fact: some bikes handle better with cargo on board — especially some long-johns (aka bakfietsen) that carry cargo and/or kids at the front of the bike
➤ Remove pedals
What’s good for the gosling is good for the goose. I’ve written about removing pedals for kids as a way to get used to the weight of a new pedal bike while using it as a balance bike. There’s no reason that can’t work for acclimating an adult, too. Borrow or buy a $10 pedal wrench and you can take pedals off and put them back on yourself.
Everything in the whole wide world is “righty tighty, lefty loosey” except for your left bike pedal. I remember this by “the right pedal is right (correct) while the left pedal wrong.” Some people memorize that both pedals loosen towards the back of the bike. Pedals that have been on a bike for a very long time might be extremely hard to wrench off. Add a bit of grease when you put them back on so they come off easily in the future.
Have you made any temporary adjustments to get used to a new bike? Are you expecting a new bike to come into your life soon?
Remember, we’re always looking for people to profile. Get in touch if it sounds like fun to you. I’d especially like to feature families of color so please get in touch or ask friends of color who bike with their kids if they’re interested in sharing their stories. And as always, feel free ask questions in the comments below or email me your story ideas and insights at madidotcom [at] gmail [dot] com.
— Madi Carlson, @familyride on Instagram and Twitter
Browse past Family Biking posts here.
Never miss a story. Sign-up for the daily BP Headlines email.
BikePortland needs your support.


Thanks for reading.
BikePortland has served this community with independent community journalism since 2005. We rely on subscriptions from readers like you to survive. Your financial support is vital in keeping this valuable resource alive and well.
Please subscribe today to strengthen and expand our work.
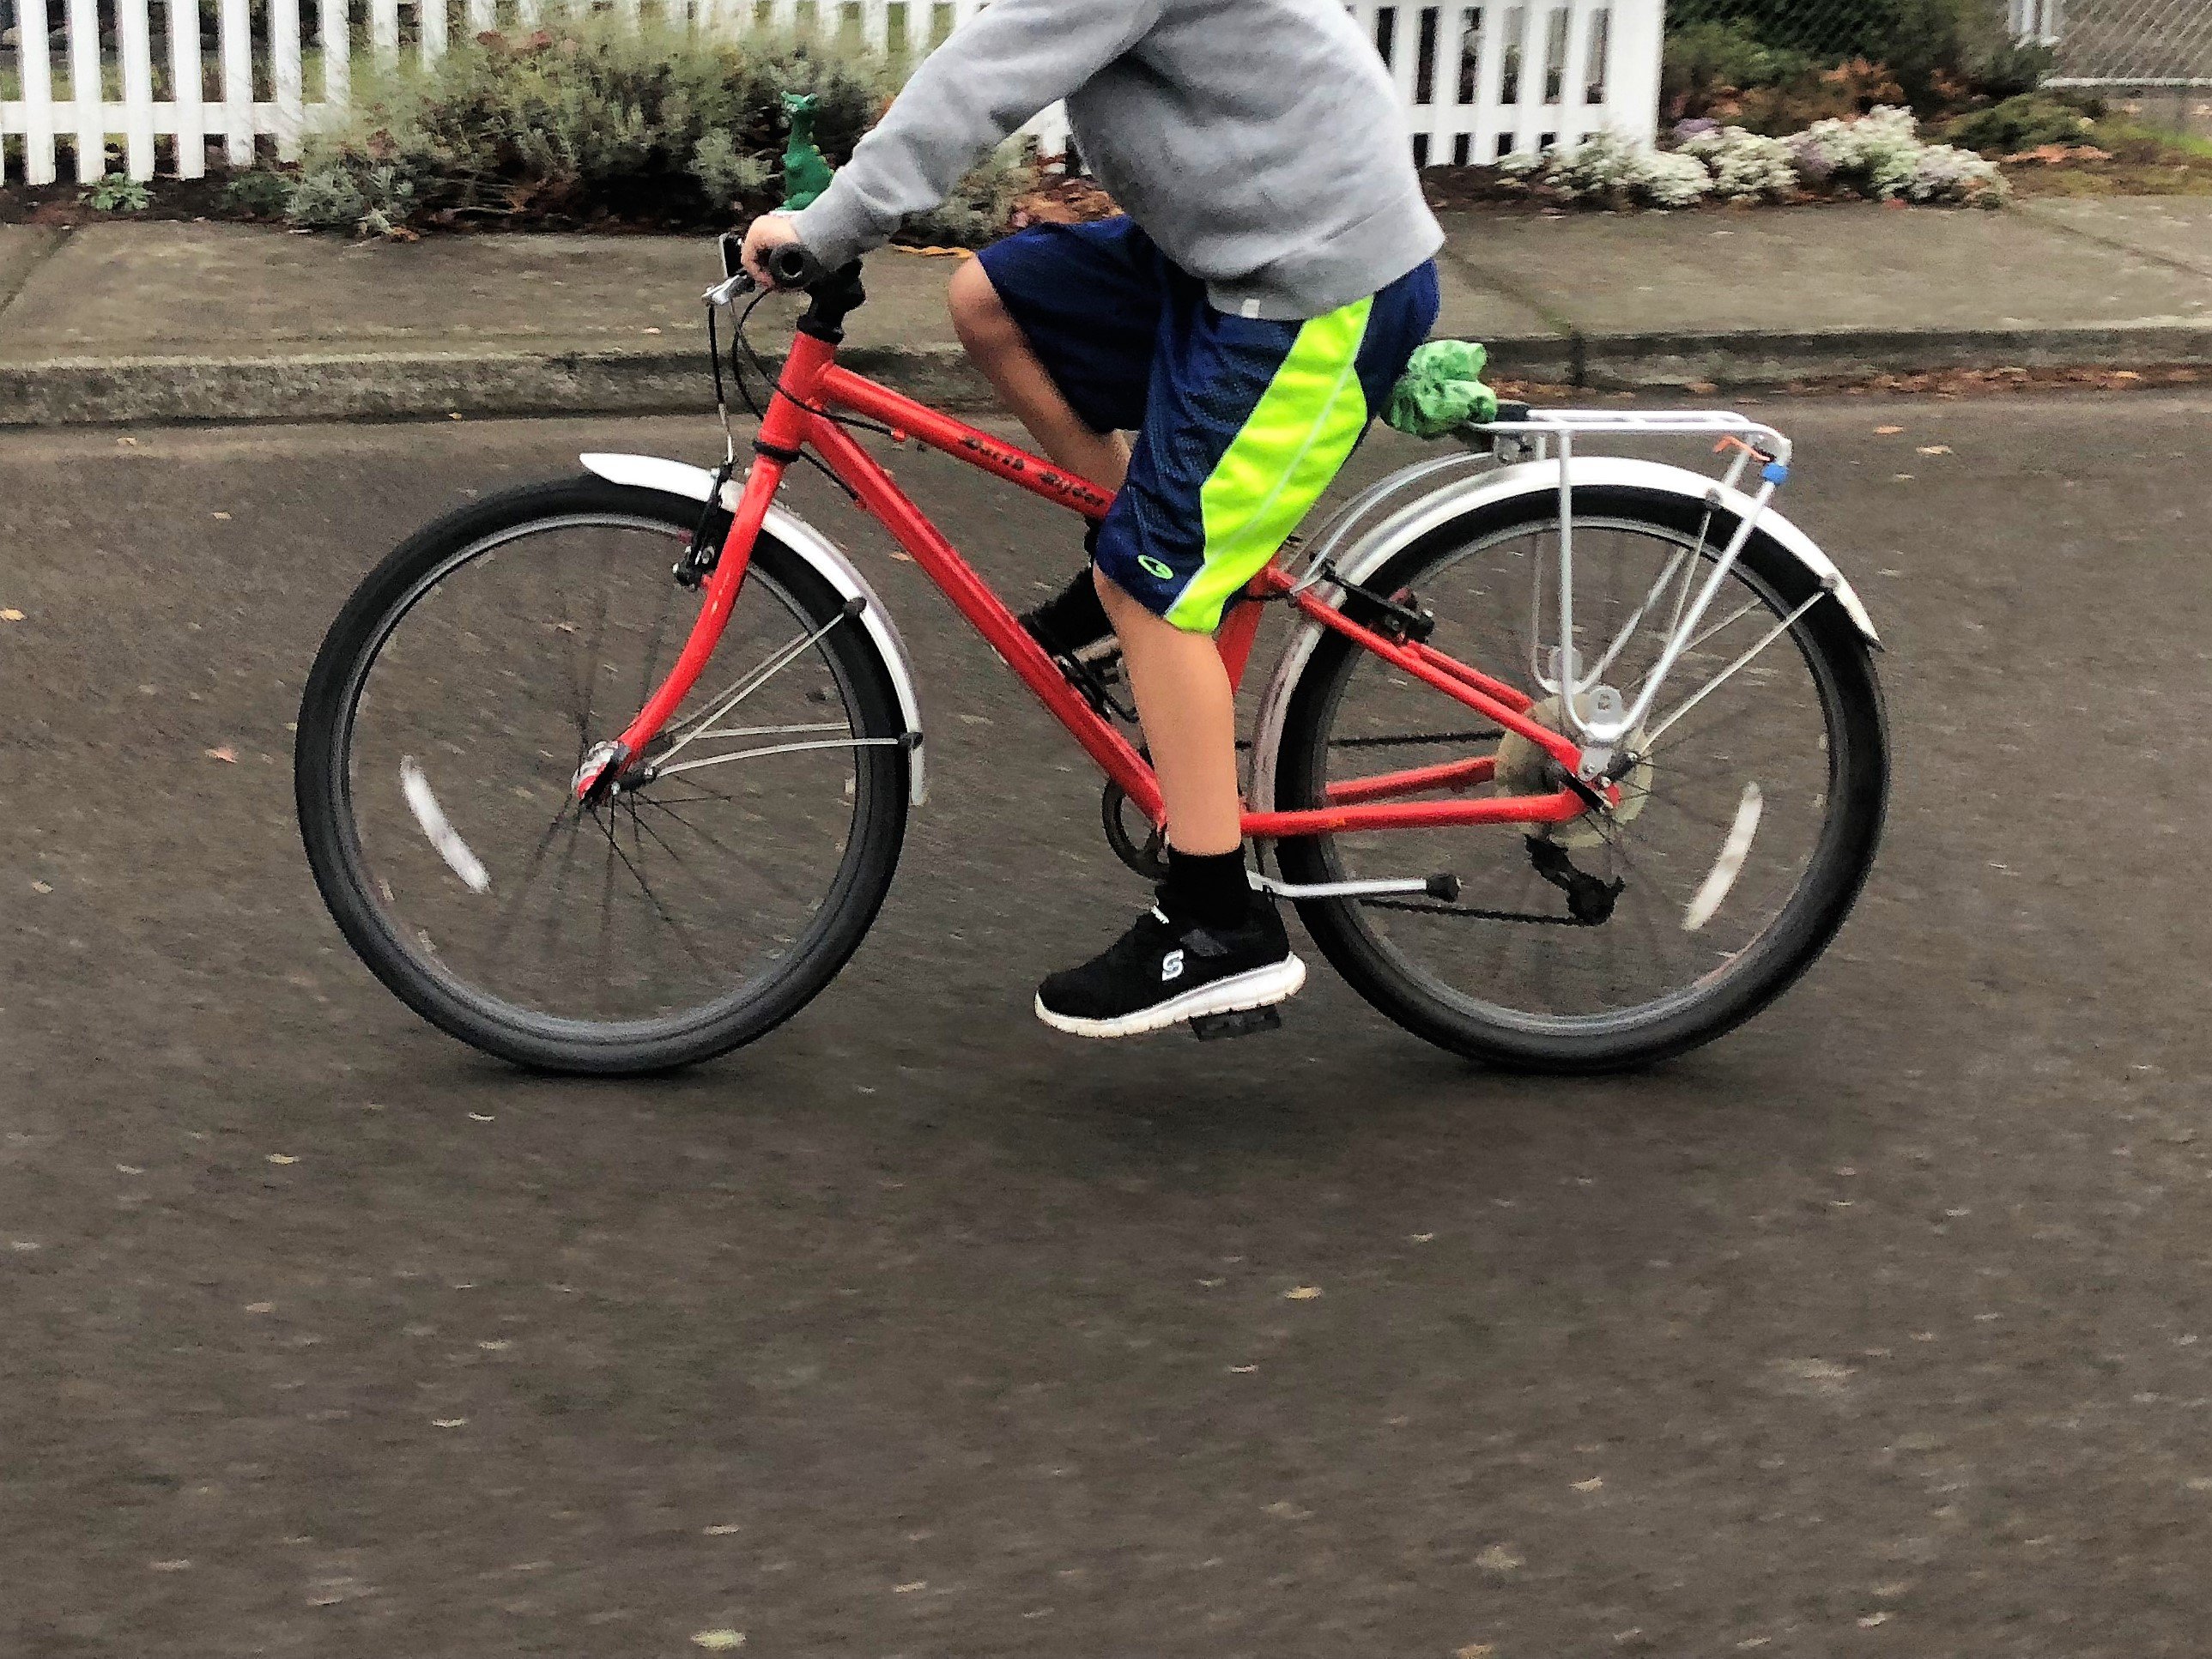
Over the years I’ve never told my son (now 13) that I raise his seat. Kids, like other humans, can be averse to change. Instead of telling him, I’ve watched for proper seat height, then bump it up gradually over the course of several rides to a height he won’t really notice. He’s never complained yet about his seat being too high. Try it with your kid it if they are averse to such changes.
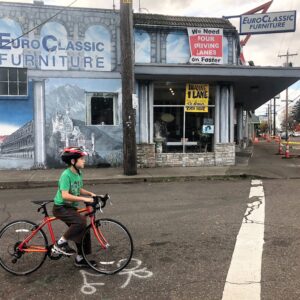
A couple of things. Never change your saddle height by an inch or two inches in one fell swoop. If it has been working for you, and some expert tells you your saddle is the wrong height, make changes very gradually or you risk injuring knees that have been just fine. The kid in the picture already has his saddle a bit too high, by most metrics. My credentials: I fitted well over 1000 cyclists and was an Elite National Coach at the Colorado Springs Olympic Training Center,
but what do I know?
Although dazzled by your credentials, I think even more helpful would be an explanation as to why that’s too high. I would’ve thought, like Madi, that it was a bit low (knee bent with heel on the pedal).
Did you notice his foot placement? The knee angle would be quite different it he had the ball of his foot on the pedal.
Good point. If he moved his foot back a couple of inches, he would be in the ballpark, 15 to 20 degrees short of full extension. Of course, there is no perfect setup. I see kids, and grown men, riding their BMX bikes in town with their saddles about 6″ ‘too low’ and they have obviously functioned quite well for years.
Surely you are aware that BMX bikes are built to be ridden very differently from other bikes? Race, vert, or freestyle, one spends very little time in the saddle.
Anyone riding so hard as to risk injury on a family ride needs a different kind of help.
Great tips!
Adding ballast is also a good idea when test-riding a cargo rig. Even thirty pounds will make a big difference in the handling of a bakfiets. If nothing else is convenient, a full recycling bin or the contents of a free newspaper box will help (put them back afterward!) Liquid is good ballast as long as the container is full. Sloshing liquid in a partially filled container is disconcerting on a new bike but it would also simulate the movements of a live passenger.
Let’s not forget, Oregon requires your baby to have a helmet at all times. that’s right, they can ride unhelmeted in your car, but the minute you put them in a car seat in your trailer, it better have a helmet. Expect a visit from CPS if a car hits you or makes you crash and your baby doesn’t have a helmet on..but is fully encased in a car seat….